Tuesday, 29 April 2014

Prawns with greens

Certain days are like today. Days when I want to taste the real flavour of food. So I keep aside the spices or even vinegar and cook simple food with no frills attached.

One of the perks of living in Shanghai is that you can get fish when it is still alive. So I got my prawns today and all the way back home I was devising methods to kill the Prawns. Do I drain the water and leave them to die ? Or do I freeze kill them ? Or do I get a brooch needle and stab them to death ?
The prawns had no clue of my terrible plans so they continued to poke me and scratch me through the plastic bag.

When I got home, I emptied the bag into a sauce pan and there it was, all feeling each other up with their wiggly feelers.
I steadied myself and put the sauce pan on the stove.

It is one of the most unpleasant things I have done ( other than using the train toilets in India) . I did feel upset  but then,  if I can eat them, I can kill them too. The prawns were boiled in salted water, skin and head e tall. Then I let it cool down a bit and shelled them to reveal the bright orange nakedness.


Then I proceeded to heat a spoonful of oil , asking for forgivence all the while. When the oil became hot, I put chopped up greens ( Mustard greens, garlic shoots, pepper, spinach) along with a bit of garlic and ginger. All that was left to do was to add salt and pepper .


The prawns were unbelievably soft and succulent. The flavor was very clean and neat to the palate. I will definitely make this again.

Monday, 28 April 2014

Lotus root


This week´s wet market shopping got me Lotus root. I love the crunchiness of Lotus root, I love the earthiness of Lotus root .. It will be just enough to say I love and adore Lotus root.

So I bought two lotus roots and made one into a salad with Enoki mushrooms and pepper. The other one I stuffed with Basmati rice and boiled for an hour in a sweet syrupy concoction of staranise, Cassia bark and sugar.


And here is the winner, My fresh greenie salad.

It is very easy to make this salad. Peel and wash the Lotus root . Use a chopstick to clean inside the roots. Cut it along the length, in half and then chop the halves into thin slices. Place the slices in a bowl with water and rice vinegar. This will keep the root white and also removes the bitterness, if any.
Blanch the slices along with pepper , scallion and Garlic flower stalks.
Drain and keep in a salad bowl. Add salt and pepper, give it a shake and you have a crunchy, earthly salad to die for.

I used the other root to make a sweet dish. This is one of the Shanghai street food, where the lotus root is stuffed with sticky rice and boiled in a honey spicey syrup.
I have made my version of the stuffed lotus root.


This is fun to make. Peel the root and use a chopstick to clean the inside.
Cut a two inch slice from one end and keep it aside to use as a cap.
Wash and drain rice and stuff the root with the rice. Use the chopstick to push and compact the rice.
Using toothpicks, attach the cap to the root.
Meanwhile boil a large saucepan with water. Add Star Anise, Cassia bark or Cinnamon peel, sugar, honey and whatever nice things you fancy to the water. Place the stuffed root in the boiling water and boil for 1 hour. Remove with a slotted spoon and let it rest.
Remove the spices from the water and reduce it to form a syrup.
Slice the roots and pour the syrup over the slices.
It is so magical to look at the slices let alone eat it.

Sunday, 27 April 2014

Roast peppers, Purple sweet potato and Eggplant with Cumin seeds


I had this notion that Eggplants,Tamarind and Okra belonged to a group of vegetables called the 'Asura' veggies, meaning devil's vegetables. How the hell did I get this idea ? From the junk books you buy from the fair grounds !! Some of these books that you buy from a fair ground are treasure boxes of ridiculous suggestions and superstitions.
My grandfather used to have at least one Brinjal plant (as we call eggplants in India) in his backyard. There are times when there is an immense harvest and Eggplant appears as spicy chutney in the breakfast table and as stir fries, curries and dry dishes for dinner. We had an overload of eggplants during the fruit bearing season and  naturally as kids we hated it.

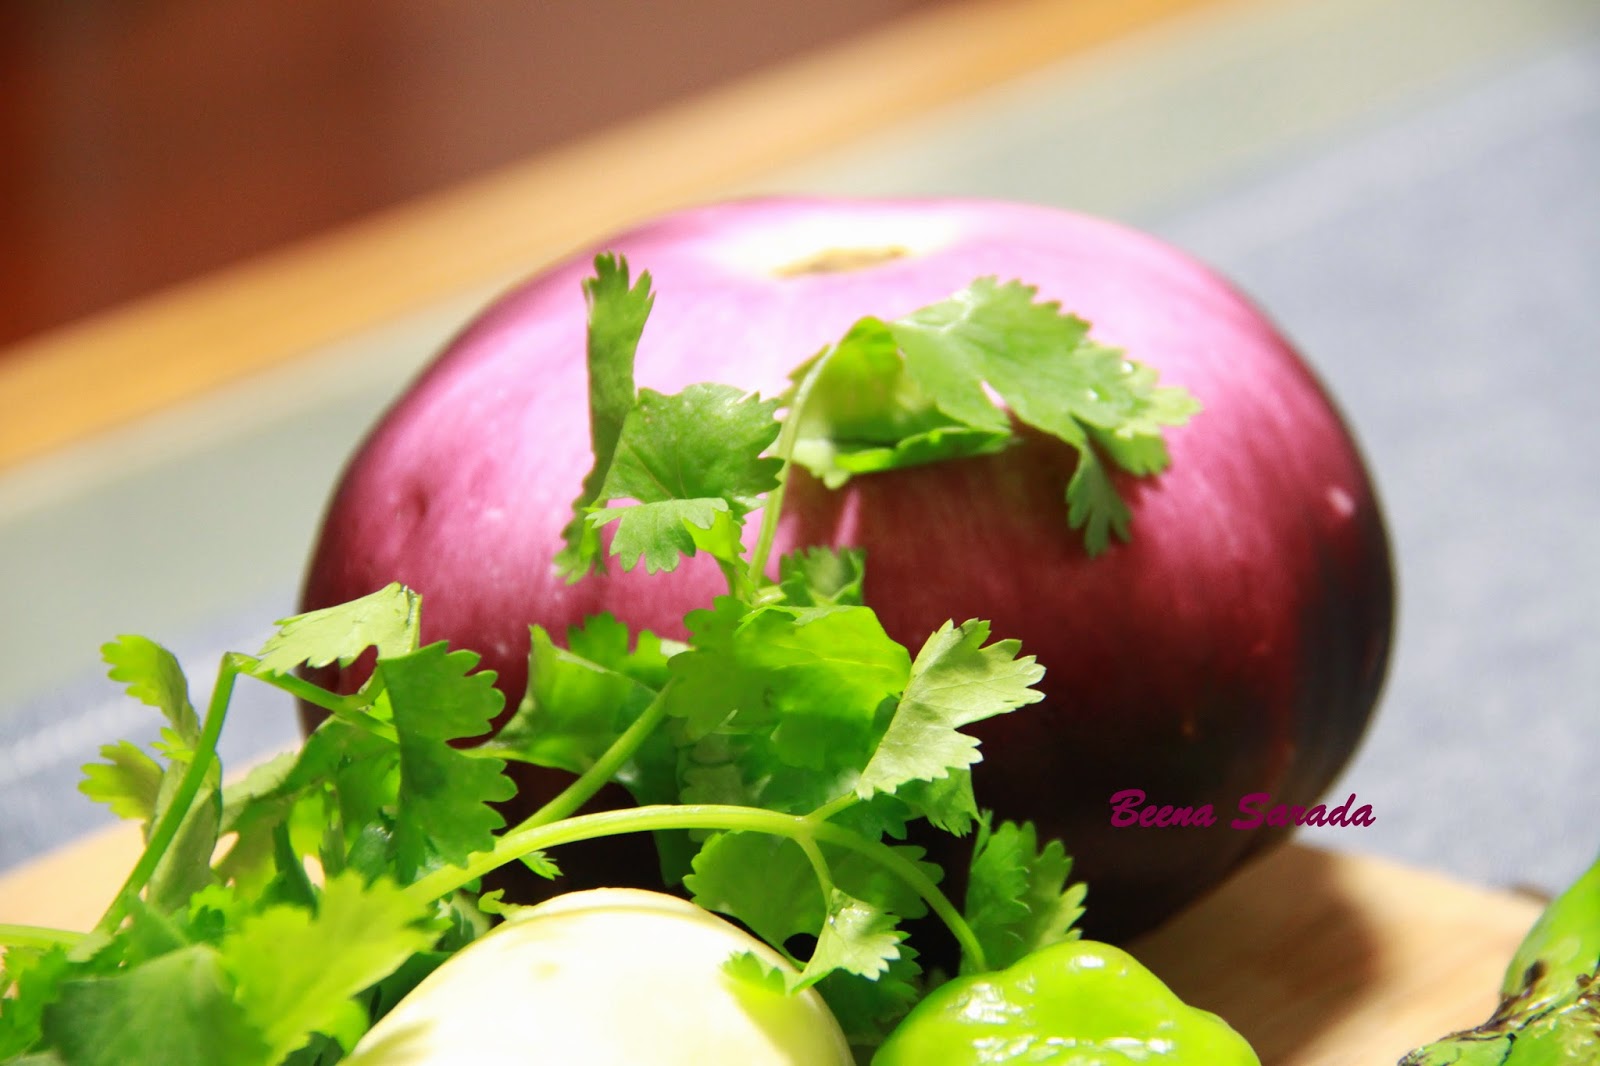
Later on in my life, when I started to cook properly, I have learned to love eggplants  and now  it features in my shopping list every week. I love them in all the three colours and all the different shapes. This week I got the purple round one and of course I have to make a salad with it. It is also the time of the year when you get Purple Sweet Potato (Kumara as Maoris call it) so it makes the carbohydrate part of my one pot wonder food.

Roast a couple of peppers over the flame. Let it cool and chop it into chunks.
Steam eggplant, bamboo shoots. sweet potato and any other vegetable you want to add.
Heat a teaspoon of oil in a wok and drop a teaspoon of Cumin seeds. When it splutters and the aroma rises, add the steamed veggies and give it a stir.
Add some green leaves like Spinach or Bakcoy and spruce it up with chopped cilantro and ginger. Add salt and pepper.
A final stir and the salad is for you to enjoy.


My very first dumpling, Zhengjiao


It is just been over two months since I came to Shanghai, but I have tried a lot of dumplings and steamed buns from various street vendors. I often go to Babi Mantou for their pork steamed buns, and though it has added a layer around my hips, I continue to eat dumplings.
Today I decided to make dumplings on my own because I have my own bamboo steamer from my trip to the HEC.
I wanted to keep it simple and searched for Wonton dumpling recipes. I have found one from Andrea Nguyen and tweaked it up a bit to suit my taste.


You can use the ready made Wonton wrappers of make it yourself from scratch.
To make thin skin dumpling wrappers add half a cup of just boiled water to two cups of all purpose flour. With a wooden spoon bring the dough together, adding more water if needed, to make it a soft dough.
Place the dough in a ziplock bag and rest it for an hour.
After the resting time, knead the dough on lightly floured surface. Divide the dough into four and flatten to a rectangle shape. Cut into squares of 10 X 10 cms.

Filling
 1 cup chopped mushrooms
half a cup chopped greens
half a cup chopped bamboo shoots
1 tablespoon chopped chillies
1 table spoon chopped cilantro
salt to taste
1 teaspoon light soy sauce
half a cup chopped scallions
oil to sautee
Chilli sauce
Rice Vinegar

Heat about a teaspoon of oil and fry all the ingredients except chilli sauce. When the bamboo is cooked remove from fire.
Place a wrapper in the palm of your hand and place a teaspoon of the mixture in the centre of the wrapper. Bring the sides together  and press firmly to form a triangle.
Now bring the two corners of the triangle together overlapping slughtly to form the ´Nurses Cap´shape.

Boil water in a wok or a sauce pan. Line a bamboo steamer with parchment paper or a wet towel and place the filled wontons in the steamer. Steam for 8 to 10 minutes.

Meanwhile add a tablespoon each of  Chilli sauce and rice vinegar to the remaining filling and warm it.
Add the steamed dumplings to the Chilli sauce mixture and serve immediately.


Tuesday, 20 August 2013

Walnut and Raisin scones
One of my first experiments on making scones happened long time ago. I was an ardent fan of Australian
 Women´s weekly and they had a special edition on scones. The photographs were so captivating , that I was tempted to bake a batch of basic scones. Because I was so inexperienced in baking, coming from a South Indian home, i thought that the amount of soda bicarb was so less in the original recipe. I decided that was a typing error (!!) and so I doubled the quantity of soda bicarb. I was so happy when I looked through the oven glass door, to see my scones rising and rising. The moment I opened the oven door, the scones collapsed and went flat on me !
And they tasted awful.
From that day on wards  I learned to trust Australian Women ´s weekly recipes. And trust me, not even a single recipe has ever failed. In fact, till date, the most awesome cakes and pies I ever baked, are from their cook books.
Here is a walnut and raisin scone, which is a modification of basic scones. 

Walnut and raisin scones
sugar - 1 tablespoon
raisins - quarter cup
walnuts, chopped - 1 tablespoon
yogurt - 2 tablespoons
milk- a couple of tablespoons, to knead
sesame seeds - 1 tablespoon

cake flour - 1 cup
baking powder - one and a half teaspoons
butter - 1 tablespoon

Preheat oven to 220 degrees. Sift the flour and baking powder into a bowl. Rub the cold butter in the flour.
Add the sugar, chopped raisins and walnuts and yogurt. Mix to form a soft dough, not sticky. If it is sticky add more flour, if it is tough add milk just enough to form a soft dough.
Roll out on a floured surface to 1 cm thickness. Cut rounds using a cookie cutter ( 5 cm cutter).
Place the rounds on a lightly greased baking sheet. Brush with milk and sprinkle with sesame seeds. Bake for 15 to 25 minutes, checking frequently until well risen and light brown.
Cool, split and serve with jam and cream.

Preheat oven to 220 degrees. Sift the flour and baking powder into a bowl. Rub the cold butter in the flour.

Add the sugar, chopped raisins and walnuts and yogurt. Mix to form a soft dough, not sticky. If it is sticky add more flour, if it is tough add milk just enough to form a soft dough.
Roll out on a floured surface to 1 cm thickness. Cut rounds using a cookie cutter ( 5 cm cutter).
Place the rounds on a lightly greased baking sheet. Brush with milk and sprinkle with sesame seeds. Bake for 15 to 25 minutes, checking frequently until well risen and light brown.
Cool, split and serve with jam and cream.


Monday, 19 August 2013

Spiral Apple Bread


Today I wanted to bake a slightly sweet bread, since I baked the garlic bread rolls yesterday. I had some apples and thought of baking this awesome looking apple bread. You all know that apples go well cinnamon, so I used cinnamon sugar to spice up my bread. Next time, I will try cardamom powder instead of cinnamon, I know from my past experience with cardamom flavored apple pie, that cardamom is an excellent companion to apples, but I am not sure if it will go with the yeasty bread. Any way I have already made up my mind to try for once.
This bread filled my house with the most delicious aroma while it was baking in the oven.. The aroma was so intense that I couldn't wait to try it.But when I took the bread out of the oven, it was so stunning that I didn't want to cut it and spoil the look !!! I used red delicious apple, so it was still crunchy when we tasted the bread. Maybe Granny Smith might have been a better choice .

So here is the recipe.
Flour - 2 to 2 and a half cups
softened butter - 1 teaspoon
yeast - 1 teaspoon
sugar - 1 teaspoon
warm milk- half a cup
salt - half teaspoon
apple - 1
Egg, beaten - 1
1 table spoon sugar mixed with half a teaspoon cinnamon powder
Dissolve yeast in warm milk and add sugar. Keep it aside till frothy.
Rub the butter into the flour in a bowl. Make a well in the centre and add the milk-yeast mixture and half the beaten egg. Reserve the remaining egg.
Using a spatula, gather the flour till it comes together. Dust a work surface with flour and transfer the flour to the surface.
Knead the dough till soft and smooth. Keep in a lightly greased bowl, cover with cling wrap and leave in a warm place till doubled.
Preheat the oven to 200 degrees.
Punch back the dough and knead for a minute. Divide into two and roll each half into a thin circle. cut the circle into 3 cm wide strips.
Slice the apples and mix with the cinnamon sugar.
Take a strip of dough, place a slice of apple and roll it.. Place the roll in the middle of a lightly greased pie dish. Continue using up the strips by arranging them around the first spiral, with slices of apple between the strips.
Once all the strips are used up, brush with the remaining beaten egg and bake for 20 to 30 minutes, checking in between, till golden brown.

Sunday, 18 August 2013

Garlic bread rolls
Say garlic bread and my son rushes in to finish it, be it morning, noon or night. He loves garlic bread so much that I bake garlic bread of all shapes and sizes to satisfy him. Well, may be not just for him. Baking bread is as much a passion to me as baking a cake.
There was a time not long ago, that I try to bake bread and ends up disappointed. I will sweat myself out, kneading the dough to satiny soft finish, but will invariably end up in a loaf as heavy as a brick. I was convinced that the bread never comes out soft due to lack to machinery. So with the meagre income I had at the time, I bought a hand mixer with a dough hook and straight away proceeded to knead the dough. To my horror, I watch the hook go still, because a long , unending strand of dough, somehow managed to enter the machine through the space between the hook and the body !! I tried to remove as much dough as possible, but the mixer wouldn't turn on again. I couldn't afford to buy another mixer at that time, so I sadly said good bye to bread baking.
Later I bought the classic bread book by Bernard Clayton and didn't put the book down for days, Though I don't fancy reading cook books without colour photos, I loved this book and till today is my Bible. The same problem followed me here also. Though I had an excellent kitchen processor by now, I was so scared to try the kneading hook !! Instead I started banging the dough with a roller pin. And to my surprise, I got the softest breads ever !!
I use my roller pin on a everyday basis now, because I bake my own bread . It gives me immense satisfaction every time I break a piece of my bread.

Garlic bread rolls

Warm milk - half a cup
yeast - 1 teaspoon
sugar - 1 teaspoon
beaten egg - 1
softened butter - 2 teaspoons
salt - quarter teaspoon
white flour - 1 to one and a half cups
whole meal flour - half a cup

Dissolve the yeast in the warm milk and add sugar. Keep it aside till frothy.
Sift one cup of white flour and the whole meal flour together into a bowl. Replace the husks into the sifted flour.
make a well in the center an add the yeast-milk mixture, one teaspoon of butter and half the beaten egg. Using a spatula, gather the ingredients  till it comes together. Add more milk or flour if needed. Transfer to a floured surface and knead till soft ( I use the rolling pin to beat the hell out of the dough !! ).
Keep the dough in a lightly greased bowl , cover with cling wrap and keep in a warm place till doubled in size.
Preheat the oven to 190 degrees.
Punch down the dough, knead again and roll into a rectangle. Starting from the long side, roll the rectangle to form a cylinder. Then cut the roll, as shown in the photo.

Place the cut pieces on a lightly greased tray. Push the middle of each piece with your finger tip, so that the sides, kind out bulges out. Cover with a moist kitchen towel and keep it aside to rise for about 20 minutes.
Bake in the oven till golden brown. ( about 20 to 30 minutes).
I promise you, you will bake these often.

Pinterest